


As I was writing another iGoPro Lawn Supply blog post about 3 common issues you run into with trimmer string, I realized to get to that point, you need to be able to re-string your weed eater in the first place! 😃
So, in this article I will do my best to walk you through how to re-string a weed eater. Please understand there are so many types of trimmer heads out there I honestly probably don't know how to re-string every single one myself...
Let's get right to the point - in general, these are the 3 steps you will need to take to re-string a weed eater.

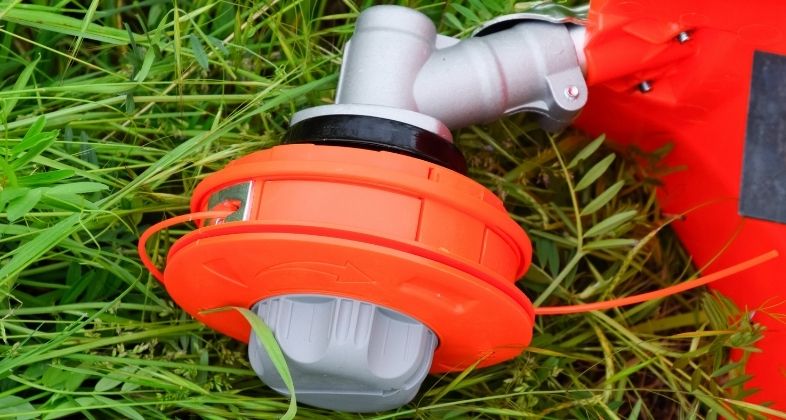
Step 1: Open up the weed eater head
There are typically 2 ways to open up a weed eater head or string trimmer head - these are 2 terms to describe the same piece of equipment. A fun fact is that in Europe, weed eaters are commonly referred to a whipper snippers!
If your string trimmer has a removeable 'donut' surrounding the bump head, you only need to remove the donut to access the trimmer string spool.
If the area surrounding the bump head is one solid piece, you probably need to unscrew the bump head to access the trimmer string spool. See below if you are having trouble keeping the entire trimmer head from spinning
Potentially, if neither of these options work on your weed eater, you may need to insert a tool such as a Philips head screw driver to hold the head in place while you unscrew the the bump head only or the entire housing surrounding the trimmer spool.
Step 2: Insert new trimmer string
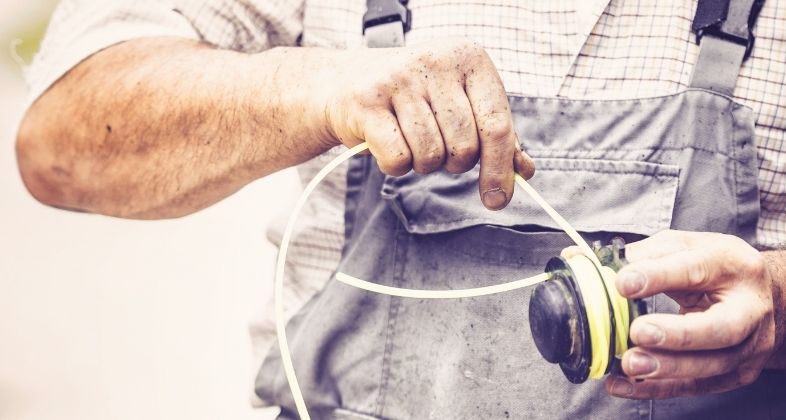
Once you have access to the trimmer spool, reference the manner in which the remaining string left in the spool was inserted. We recommend taking a couple pictures of how this looks from different angles in case you need to reference them later.
Almost all trimmer heads are re-strung in a similar manner. Typically you will find 2 holes inside the trimmer spool which is where you will want to insert the beginning of 2 new pieces of trimmer string cut to the same length.
Another configuration we've seen inside a trimmer spool is a single hole. If your trimmer head has a single hole, you will insert the new trimmer string through the hole and then make each length of string equal
How long should you cut the pieces of new trimmer string before inserting them into the weed eater's spool?
The proper length for new trimmer string will vary based on your specific string trimmer. If you do not have any idea how long to cut the string, we recommend cutting 2 - 8' lengths (Cut 1 - 16' length if your trimmer's spool only has 1 hole).
If it happens to be too much, cut off any access after reassembling your unit in the next step. If you notice you could have inserted more string, estimate how much more and cut your trimmer string to that length the next time you need to re-string your weed eater.
How do I know which way to wind the trimmer string?
Almost every string trimmer will have arrows to let you know which way to wind the string, you just have to look for them somewhere on the exterior of your trimmer head. Simply follow the arrows!
If you do not see any reference as to which way to wind the string, reference the pictures you took!
If you don't see arrows, and didn't have any remaining string to take a picture of (or you didn't take our advice!), the good news is there are only 2 options! Try it one way and it the weed eater string doesn't function as expected when reassembled and testing, you know to wind it the other way!

Step 3: Ensure your trimmer head is once again secured to your weed eater
Almost all trimmer spools will have somewhat obvious areas where you can 'snap' the ends of the trimmer string you just wound around the spool to keep them in place as you reassemble the entire trimmer head assembly.
You'll want to feed each end of your trimmer string through the eyelets found on your trimmer heads housing. Once you have both ends of string through the eyelets, pull them taught and your trimmer spool should snap back into the housing.
You may need to depress it gently and give it a slight turn to keep it in place at this point until you can snap the donut back into position or screw the bump head back on to keep everything together.
You have just disassembled your trimmer head minutes ago. To reassemble your trimmer head assembly, you just need to reverse that process.
The Trimmer String You Use Can Make A Big Difference In How Enjoyable Weed Eating Is!
If your trimmer string is giving you hell, please reference our article on how to solve the most common problems with weed eater string!
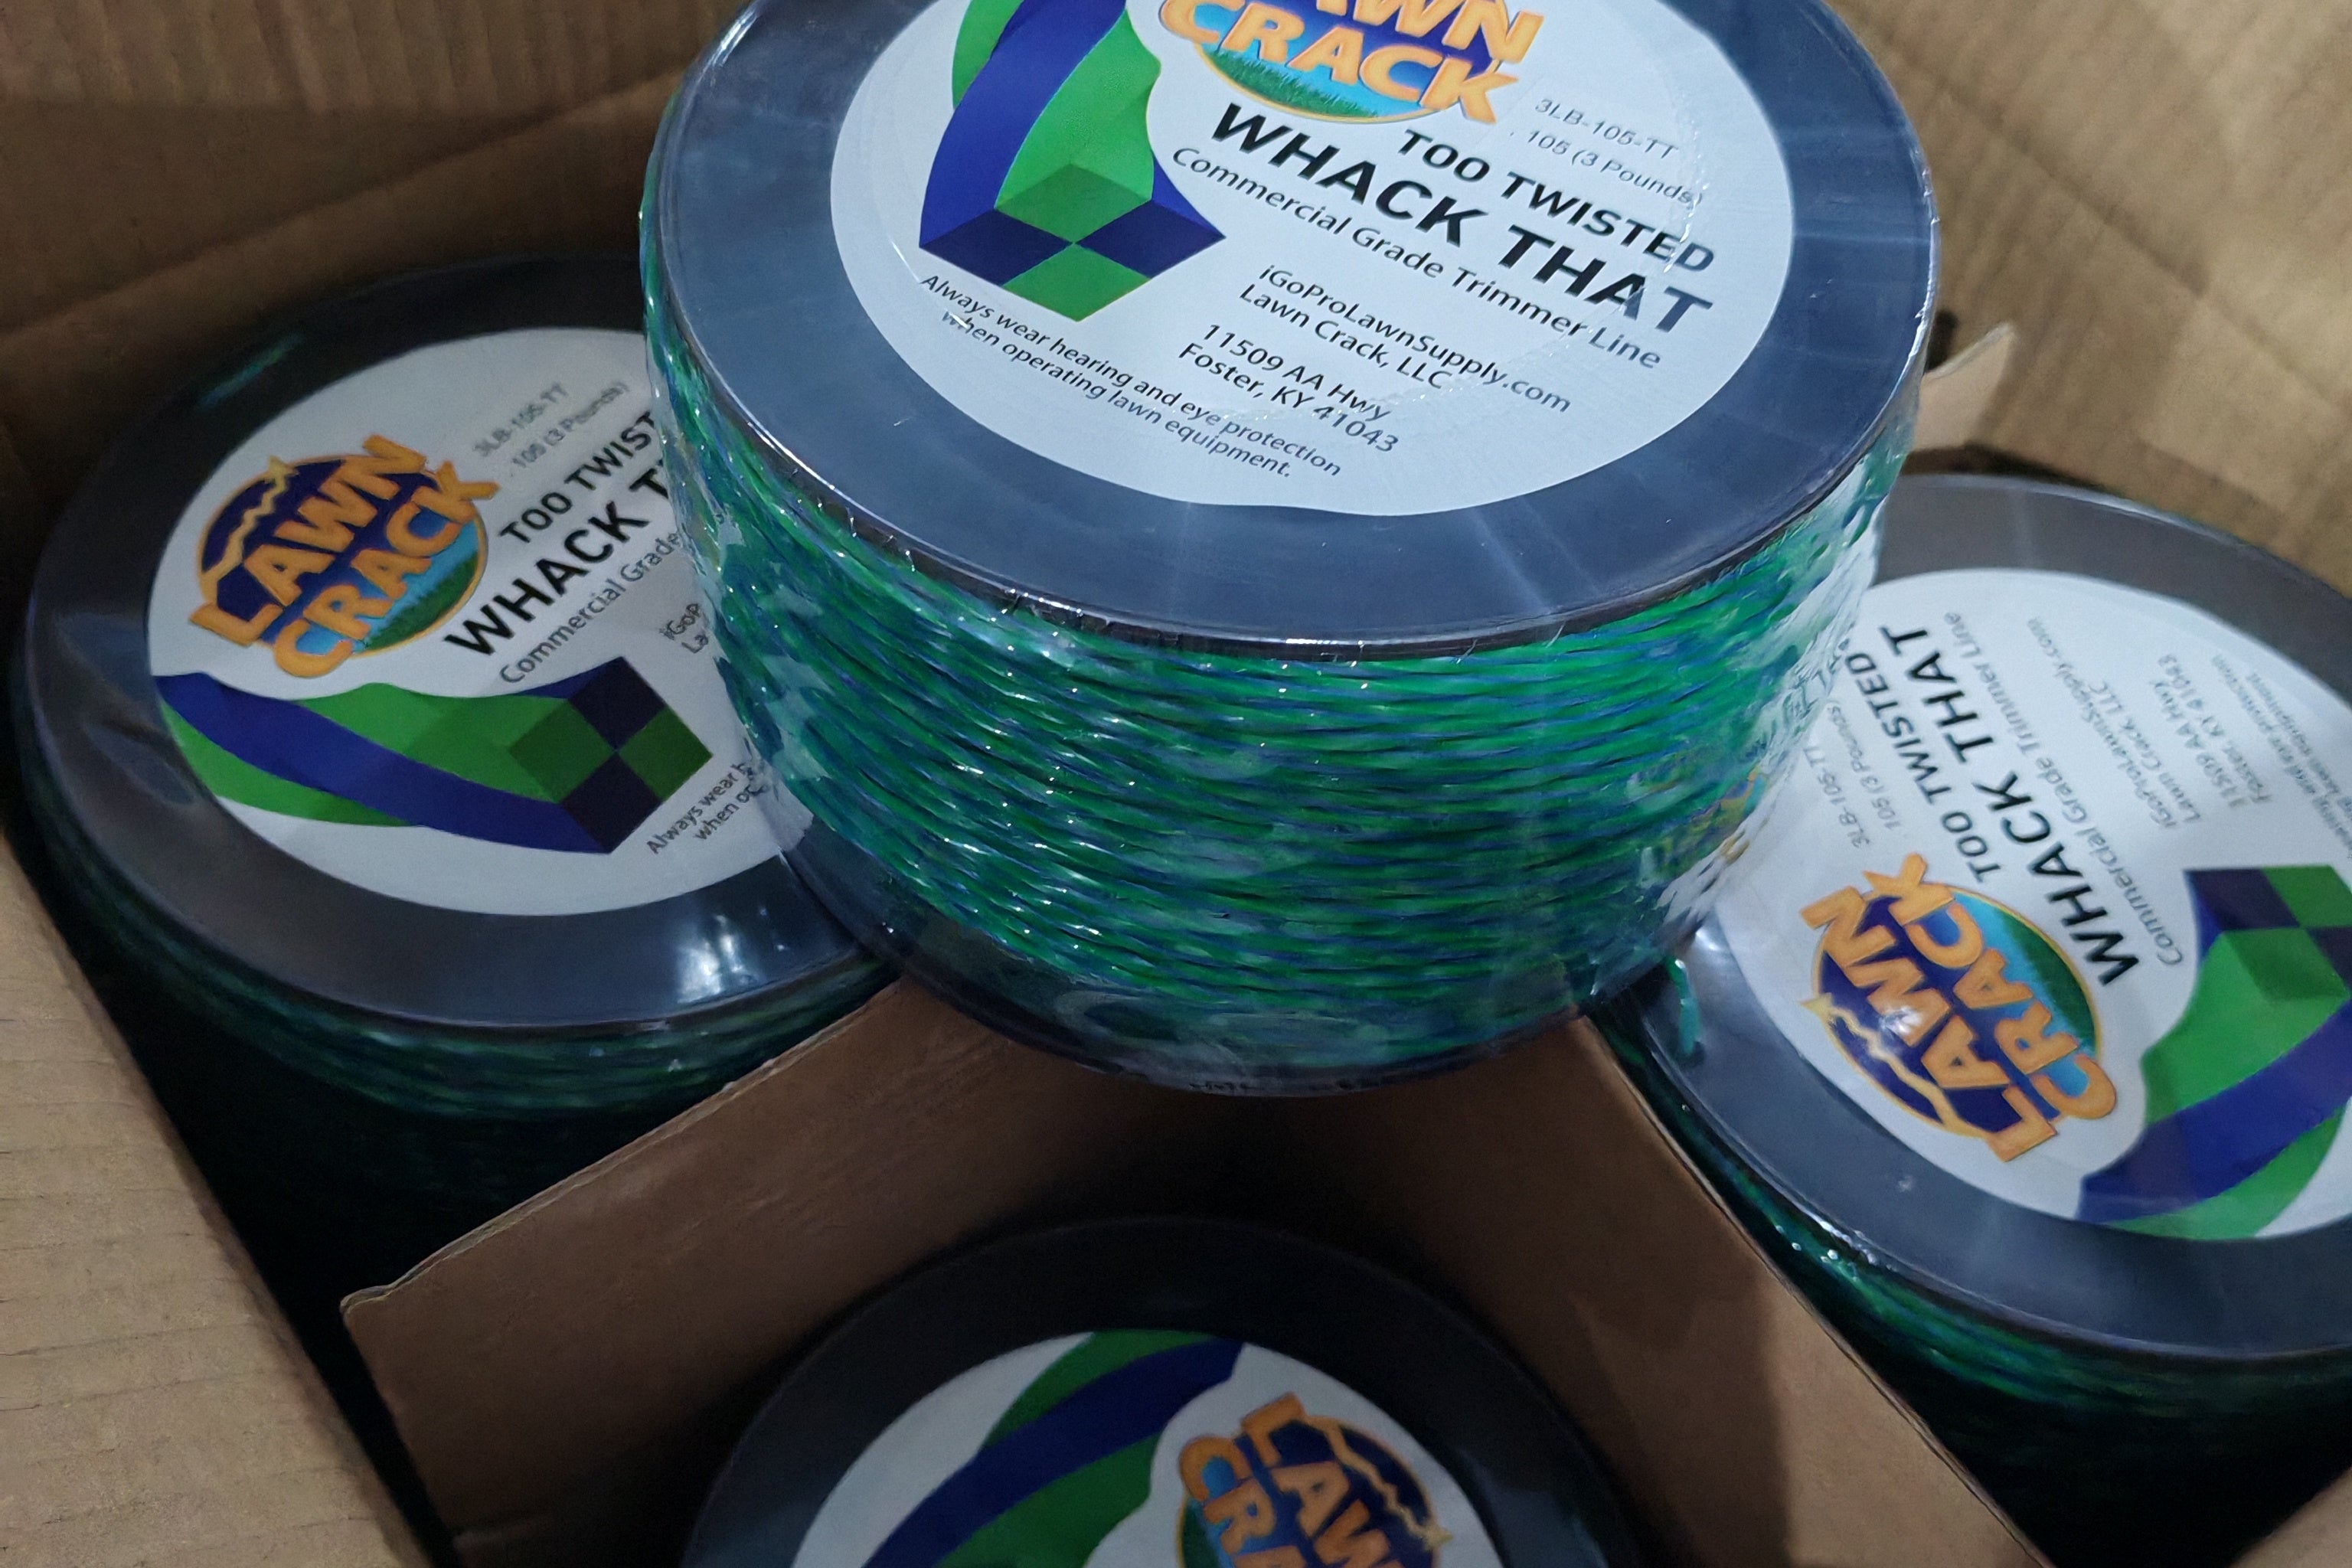
One of the main culprits of a crappy experience weed eating is using low-quality trimmer string. There honestly is not a big difference in price between low and high-quality trimmer string, but there is a huge difference in performance.
We are proud to boast some of the lowest prices online for quality trimmer line! With every size and style available, we are sure to have the perfect trimmer string for your weed eater!
